Everyday Projects Curriculum Lesson 8

Everyday Projects Education Curriculum

Produced by Everyday Projects in partnership with PhotoWings

We’re excited to bring you a new curriculum created in partnership with The Everyday Projects!

The curriculum utilizes photography to encourage middle and high school students to learn about stereotypes, representation, journalism, and truth in storytelling.

Over the course of ten classroom sessions, students will gain a broader understanding of life around the world, and can then apply those lessons to their own lives and help control of the narrative of their own homes and communities. In the process, they will become more aware and discerning news consumers and global citizens while learning practical photography and journalism skills.

In doing this we help create new generations of storytellers and audiences that challenge stereotypes that distort our understanding of the world and recognize the need for multiple perspectives in portraying the cultures that define us.

Common Core Standards

  • CCSS.ELA-LITERACY.CCRA.W.4: Produce clear and coherent writing in which the development, organization, and style are appropriate to task, purpose, and audience.
  • CCSS.ELA-LITERACY.CCRA.SL.1: Prepare for and participate effectively in a range of conversations and collaborations with diverse partners, building on others' ideas and expressing their own clearly and persuasively.
  • CCSS.ELA-LITERACY.CCRA.SL.4: Present information, findings, and supporting evidence such that listeners can follow the line of reasoning and the organization, development, and style are appropriate to task, purpose, and audience.
  • CCSS.ELA-LITERACY.CCRA.SL.5: Make strategic use of digital media and visual displays of data to express information and enhance understanding of presentations

Teacher Preparation

Preparation:

The students have only this one class to curate and establish what the class exhibition will look like. Prior to the class, be sure to have all of the students’ individual projects uploaded to your system so you can easily access all images to show on the projector and/or have the students access them on their smart devices. Sometimes it’s easier to curate using actual prints — this can be accomplished by printing low-resolution images on regular paper on your school’s printer.

By this point, you should have some clarity on where and how your students will hold their exhibition. For help, see the Exhibition Guide document, which will also be useful for your students as they work on their curation.

Note: There are not any assessment Check-In's in this lesson because it is a work session.

Online Media:

Lesson 8: Designing the class exhibition and polishing the project statement

Length: 45 min
Learning Objectives Students will be able to finalize their class exhibition, including curation, design, and a project statement. Specifically, they will:

  • Select photos for the exhibition

  • Arrange the photos according to theme, subject matter, etc.

  • Organize groups of photos in a way that makes sense

  • Discuss and decide on an overall theme/title for the exhibition

  • Collaboratively finish the writing of the project statement

Part 1: Curating Your Class Exhibition – 35 minutes

Student exhibitions: Everyday DC with the Pulitzer Center at Pepco Edison Place Gallery (left and center photo) and Everyday Bronx with The LAMP at the Bronx Documentary Center (right photo)

The curation of the class exhibition will depend largely on how much space you have for the show.

If there’s enough room, it would be ideal to show each student’s entire project. If this is possible, the students need to think about the curation in terms of ordering each individual project — is there a natural flow of projects that makes the most sense? Should certain projects be grouped with others? 

If space is too tight to show all of each student’s project — or if the class decides it doesn’t want to show the photographs grouped in this way — the curation is trickier. The students will need to work together to figure out how much wall space there is, and then calculate how many of each student’s photographs can be selected. Then it’s a matter of deciding on a theme for the exhibition and what the flow of photographs should be. Some elements to keep in mind while making these decisions:

  • Photos can be grouped by overall theme or groups of themes. Some examples could be music, sports, or other school-related themes, or things like outdoors activities, local history, or other community-related themes.

  • Photos can also be grouped by similarities in color, photos of buildings and of natural landscapes and of people, etc.

  • You should keep the space in mind while you are planning your exhibition. How many walls are there, and how many prints will fit on each wall?

  • If there is space in your exhibition, one way to display more photos is to set up a looping slideshow on a computer screen or projection. Perhaps you can show each student’s entire project this way – one or more photos each printed and hung on the wall, and the rest projected in a slideshow.

  • Refer back to the video on selecting/curating photos if necessary. (This video should automatically start play at 5:58, a section on Photo Editing – if not, you can click straight to that part.)

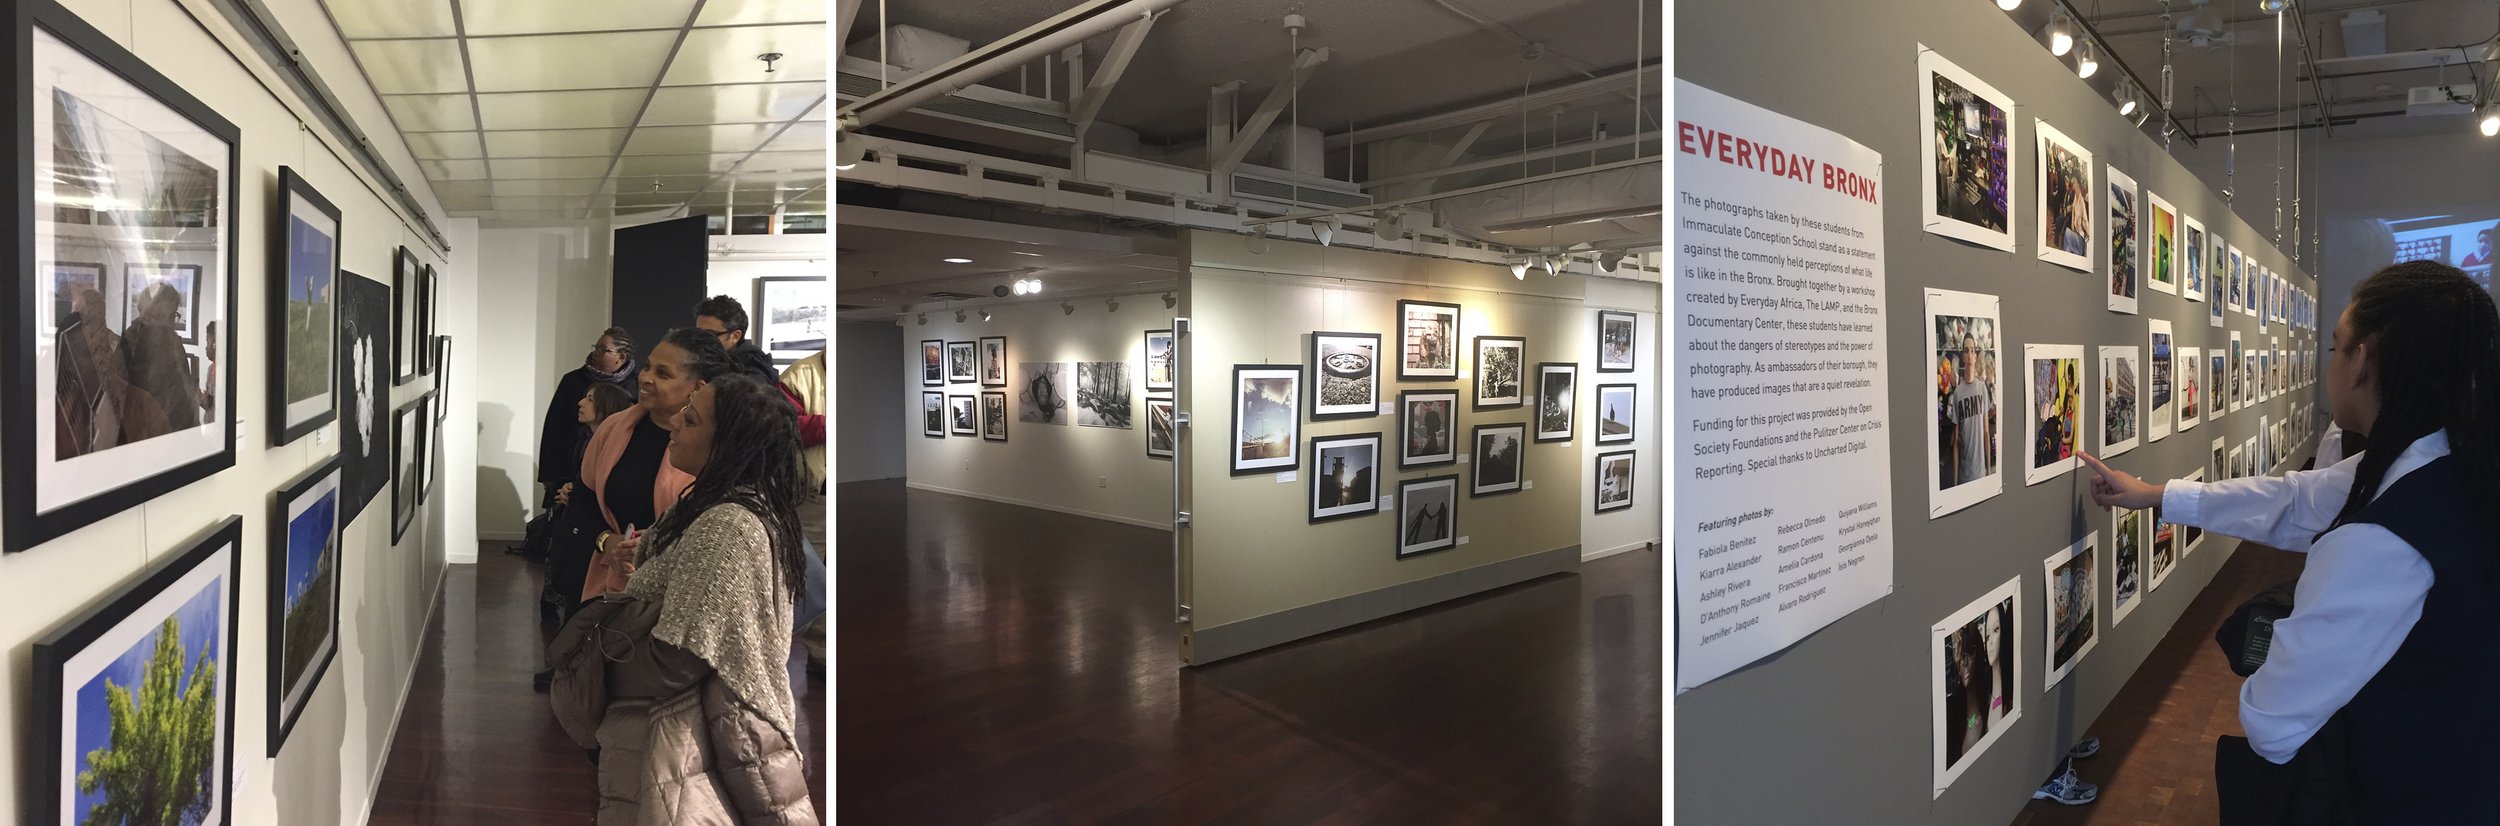
  • Another helpful resource for both you and your students may be these two Pulitzer Center blog posts: Everyday DC: The 2nd Annual Photography Exhibition, which describes the process of working with many schools in the DC area to curate a gallery exhibition, and Virtual Gallery: The Fourth Annual Everyday DC Exhibit, which details the different themes that students chose for their exhibition as they curated.

Above all else, remind students to keep their community in mind when curating their exhibition. The goal of creating an Everyday project is to tell true stories from the community and the people living there, and in doing so, to defy any stereotypes that the outside world may have of that city or town, or any stereotypes that people may have of each other. Students should create an exhibition that they can be proud of, and that their families, school, and wider community can be proud of as well.


❖ Teacher Note

❖ You may want to establish a team of students who will be in charge of making the prints, doing the framing, and hanging the photos on the walls.

part 2: Polishing the class’s project statement – 10 minutes

Photo of Everyday Africa exhibition in Nairobi, Kenya by Barry Christianson


As the students work together on the curation, they need to be thinking also about what to call the class’s exhibition. Is there a title that captures the spirit of the show? Frequently classes decide to call the exhibition simply “Everyday [Your School/City Name].”

They also need to refine the project statement they began working on in Lesson 3 — a few sentences that capture who the students are and what story or stories they want to tell through their photographs. Again, it may be helpful for them to revisit the Sample Artist Statements in Lesson 3 as they write their final project statement.

Another decision concerns how to deal with all the text. Do you want to print the title, project statement, and captions, and affix them all to the wall? Or would you prefer to create a hand-out with all of that information, so that viewers can read about the exhibition and the images as they view them?


❖ Teacher Note

❖ It would be a good idea to have the students put some thought into who their audience will be, and how they should publicize and brand the event. It could work well to put together a small team of students to work on this.

This curriculum is produced by Everyday Projects, and presented in partnership with PhotoWings.