
Getting Started

Sharing has never been easier.
All participants in the AshokaU + PhotoWings webinar are required to create Tumblr and Twitter accounts. These platforms will be used as a dynamic link to the course and the community. Share your experiences along the way - text, photos, audio, video - share what inspires you. The easy-to-use design of Tumblr (integrated with Twitter) allows you to post on the fly, sharing your ideas and growth every step of the way.
Course accounts to follow:
Tumblr: http://ashokau-photowings.tumblr.com
Twitter: http://twitter.com/PWAU12
Tag for AshokaU + PhotoWings Webinar:
PWAU12
Setting up your accounts
First things first: Do you already have a Tumblr account?
If yes:
So you already have one, great! Please create a blog specifically for the webinar and start following us at http://ashoku-photowings.tumblr.com. When you make posts, tag them with "PWAU12."
If no:
Just fine! Let's set you up, step by step! We've provided screenshots to assist you with the steps. If you want a closer look at them, just click on the thumbnail.
Part 1. Making a Tumblr Account.
Navigate to http://www.tumblr.com/. Create an account by clicking on "Sign Up" in the top right hand corner of the page.

Fill in the boxes you see with:
• Your email address.
• A password you choose for the account
• A username you choose.

You'll next see a prompt asking for your age. Enter your age in that field. (Based on US law, tumblr is open to everyone aged 13 and over.)
You'll also see an unchecked box asking you to agree to the terms of service. (Feel free to read through this. Tumblr, as with all websites, has rules, rights and responsibilities for its users. Don't worry though, there are no hidden tricks or catches in this section.)
You may have to solve a Captcha puzzle like this:

Sometimes like this, it can be too difficult to read. If you're having trouble, mouse over the words to show a link saying "Refresh."

That's a lot better. Now, just enter the words you see.

Congrats! Now you're on Tumblr.
You'll next see a survey screen saying "Tell us what you're into." Feel free to skip this step by clicking on "Take me to my Dashboard at the bottom." This survey helps sort your blog, as well as helps to introduce other blogs to you, but is not necessary for using tumblr at all.

Part 2. Settings
Take a second to look around the next screen. This is the Dashboard:

It's the central launching point for you to use Tumblr's features. Most importantly, this is the main place for creating new posts with the post or viewing other people's posts. Before we go any farther, let's get you set up for this Webinar.
At top of your screen you'll see these icons:
![]()
From left to right: The house takes you to your main dashboard screen. The envelope takes you to your message inbox. The question mark takes you to Tumblr's help section. The gear takes you to your account settings. The I/O symbol will log you off. Right now we want to go to you account settings, so click on the gear icon.
![]()
Now we're at your settings. On the left, check out the sidebar and click on the button reading "Untitled"

(If you have already named your blog, you'll see that instead. If it says "Untitled," don't worry. In the next screen you'll be able to name your blog.)
Now that we're in your blog settings, you can change your url if you'd like. Right now it will be the username you chose when registering.

Underneath that option is "Theme." Click on the customize button to bring up a new window with theme options.

You'll see a lot of great things to personalize your page, but right now, let's just give your blog a name.

On the left bar, enter a title for your blog.

A good title would preferably have your name in it and something corresponding to the class. (If you end up using Tumblr beyond this class, you can always set up another blog under your account.) Click the green save button. You'll see the changes reflected in the theme preview on the right.

Now click close. You'll probably be sent back to your dashboard, so navigate back to your blog settings. Click the box that says "Allow replies from people you follow."

This will allow for expanded discussions across each student blog. We will go through other ways to connect through Tumblr in the next section.

Click save, and go back to the Dashboard by clicking on the house icon.
Part 3. Posting & Following
Now let's get into the important stuff: Posting and following. We'll start with posting first.
Creating a new post just takes a few clicks from the top of the Dashboard. First, click the button for which type of media you want to post.

For this webinar, you'll probably be using "Text" and "Photo" the most. The standard text post features a rich text editor similar to email or most blogging platforms. It's more than just text though. It can allow you to also work with multimedia like images or video. However, if you're looking to simply share a single thing like a video you made with ease, choose one of the specific post types. Then once you choose what type of post you want, you just fill in your content, enter "PWAU12" as a tag on the right, and click "create post." That's it!

The Text Post Window
Now, let's get into the "following" feature. Following a blog on Tumblr means that its new posts will come up on your dashboard feed, like a subscription. You're already following the Tumblr staff blog, so that's why you've seen their posts on your dashboard.
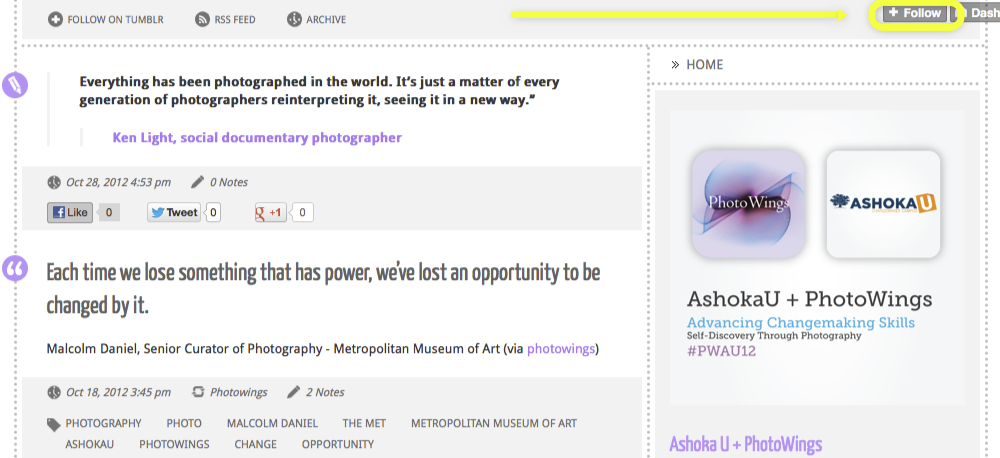
Just like posting, following a Tumblr blog is a simple operation. The easiest way to follow a Tumblr blog is to visit its page and click on "Follow" at the top right corner. Do this right now for our Webinar Tumblr: http://ashokau-photowings.tumblr.com/
Go back to the Dashboard. You should now see posts from that blog under the new post buttons. Posts you make will also show up in your Dashboard.

So, up until now you've already seen posts from you blog, Tumblr staff and maybe even featured posts from popular blogs in your dashboard feed. If you don't want to see that content any more, you can disable it. For disabling the featured posts, go to the dashboard settings window in the main settings page.
Make sure that the box for this option is unchecked and click save.

Go back to dashboard. You can stop following the Tumblr staff blog by clicking on this button to the right of your feed:

It takes you to the window showing which blogs you follow. This area also allows you to manually add blogs to follow by entering the URL. Click "Unfollow," and the staff posts will no longer show up in your dashboard.
 You're free to follow whomever you want. You don't need to follow only our blog (but we hope you enjoy our content nonetheless).
Alright, so we're almost done. Before we end, there's one last thing about posting: Reblogging.
The best part of Tumblr is the easy way to share content. If you find something that you like from other blogs, you can repost it and attribute that post to the blog it originated from. This is called "reblogging." The quickest way to reblog is to just click on the arrows icon in the top right corner of each post in your dashboard.

You'll be brought to posting window with the content already filled in. Your source's original text will be quoted as well.

You're able to add commentary underneath, and we certainly encourage you to engage ours and other student's content this way.

Click "Reblog post" to bring it live.

Alright, that's all the basics. You're now ready to tumbl! From here, you should go about personalizing your blog with themes and excellent posts. If you still need help with Tumblr, please contact us and we'll be happy to help.
And stay tuned to the AshokaU + PhotoWings Tumblr!

The AshokaU + PhotoWings webinar will use Twitter as a primary means to chat and discuss content, but will also be an efficient tool to highlight your experiences throughout the course. If you don't already have a Twitter account, visit the Twitter website and follow the simple account creation steps. After confirming your information, you'll go through a quick introduction to how Twitter operates.

Once you're logged into the Twitter page, click on the gear in the top right corner to edit your profile. Be sure to fill in this information, so people can clearly identify you in your posting. After filling in your information, save changes and return to your Twitter homepage.
Sending your first Tweet

From your Twitter homepage, click the blue icon at the top right corner to launch your first Tweet. You've got 140 characters to share via a Tweet, keep that in mind as you're writing up each post. Twitter fosters the use of many shorthand tools to get information out in an efficient manner.
Sharing Links:
If you're ever sharing links via Twitter, you may find that the URL is often way too long for you to retweet with room to type. If this is the case, try using Bit.ly, a website that 'shortens' your link with a new, tiny URL. You're going to the same location, just without all the extra characters. See an example:
https://www.photowings.org turns into http://bit.ly/UtTTDb, same link!
Hashtags:
One of the key shorthand tools for Twitter posts is the use of hashtags. For example, the AshokaU + PhotoWings webinar is utilizing the hashtag #PWAU12 to help sort posts to a collection of course-related content. You can apply hashtags to direct public access to your tweets. Try searching some themes of interest via hashtags!
Referencing other Twitter users:
You can also reference specific Twitter users using a @ prefix followed by the person's Twitter username. This is a way for you to reach out into the Twitter network in a conversational manner. Keep in mind these conversations happen in a public feed on your page, be sure to keep any private information in direct messages, a string of dialogue that does not appear on the public side.
Following Twitter Feeds
Now let's get connected! The AshokaU + PhotoWings Tumblr will be releasing a roster of course participants for you to follow and connect with on both Tumblr and Twitter platforms. To follow another Twitter user, visit their Twitter link from the provided sheet and look for the Follow icon on the following page. Their posts will now appear in your Twitter dashboard - you can engage their posts from here as well.